Huang Lab
About EMReady
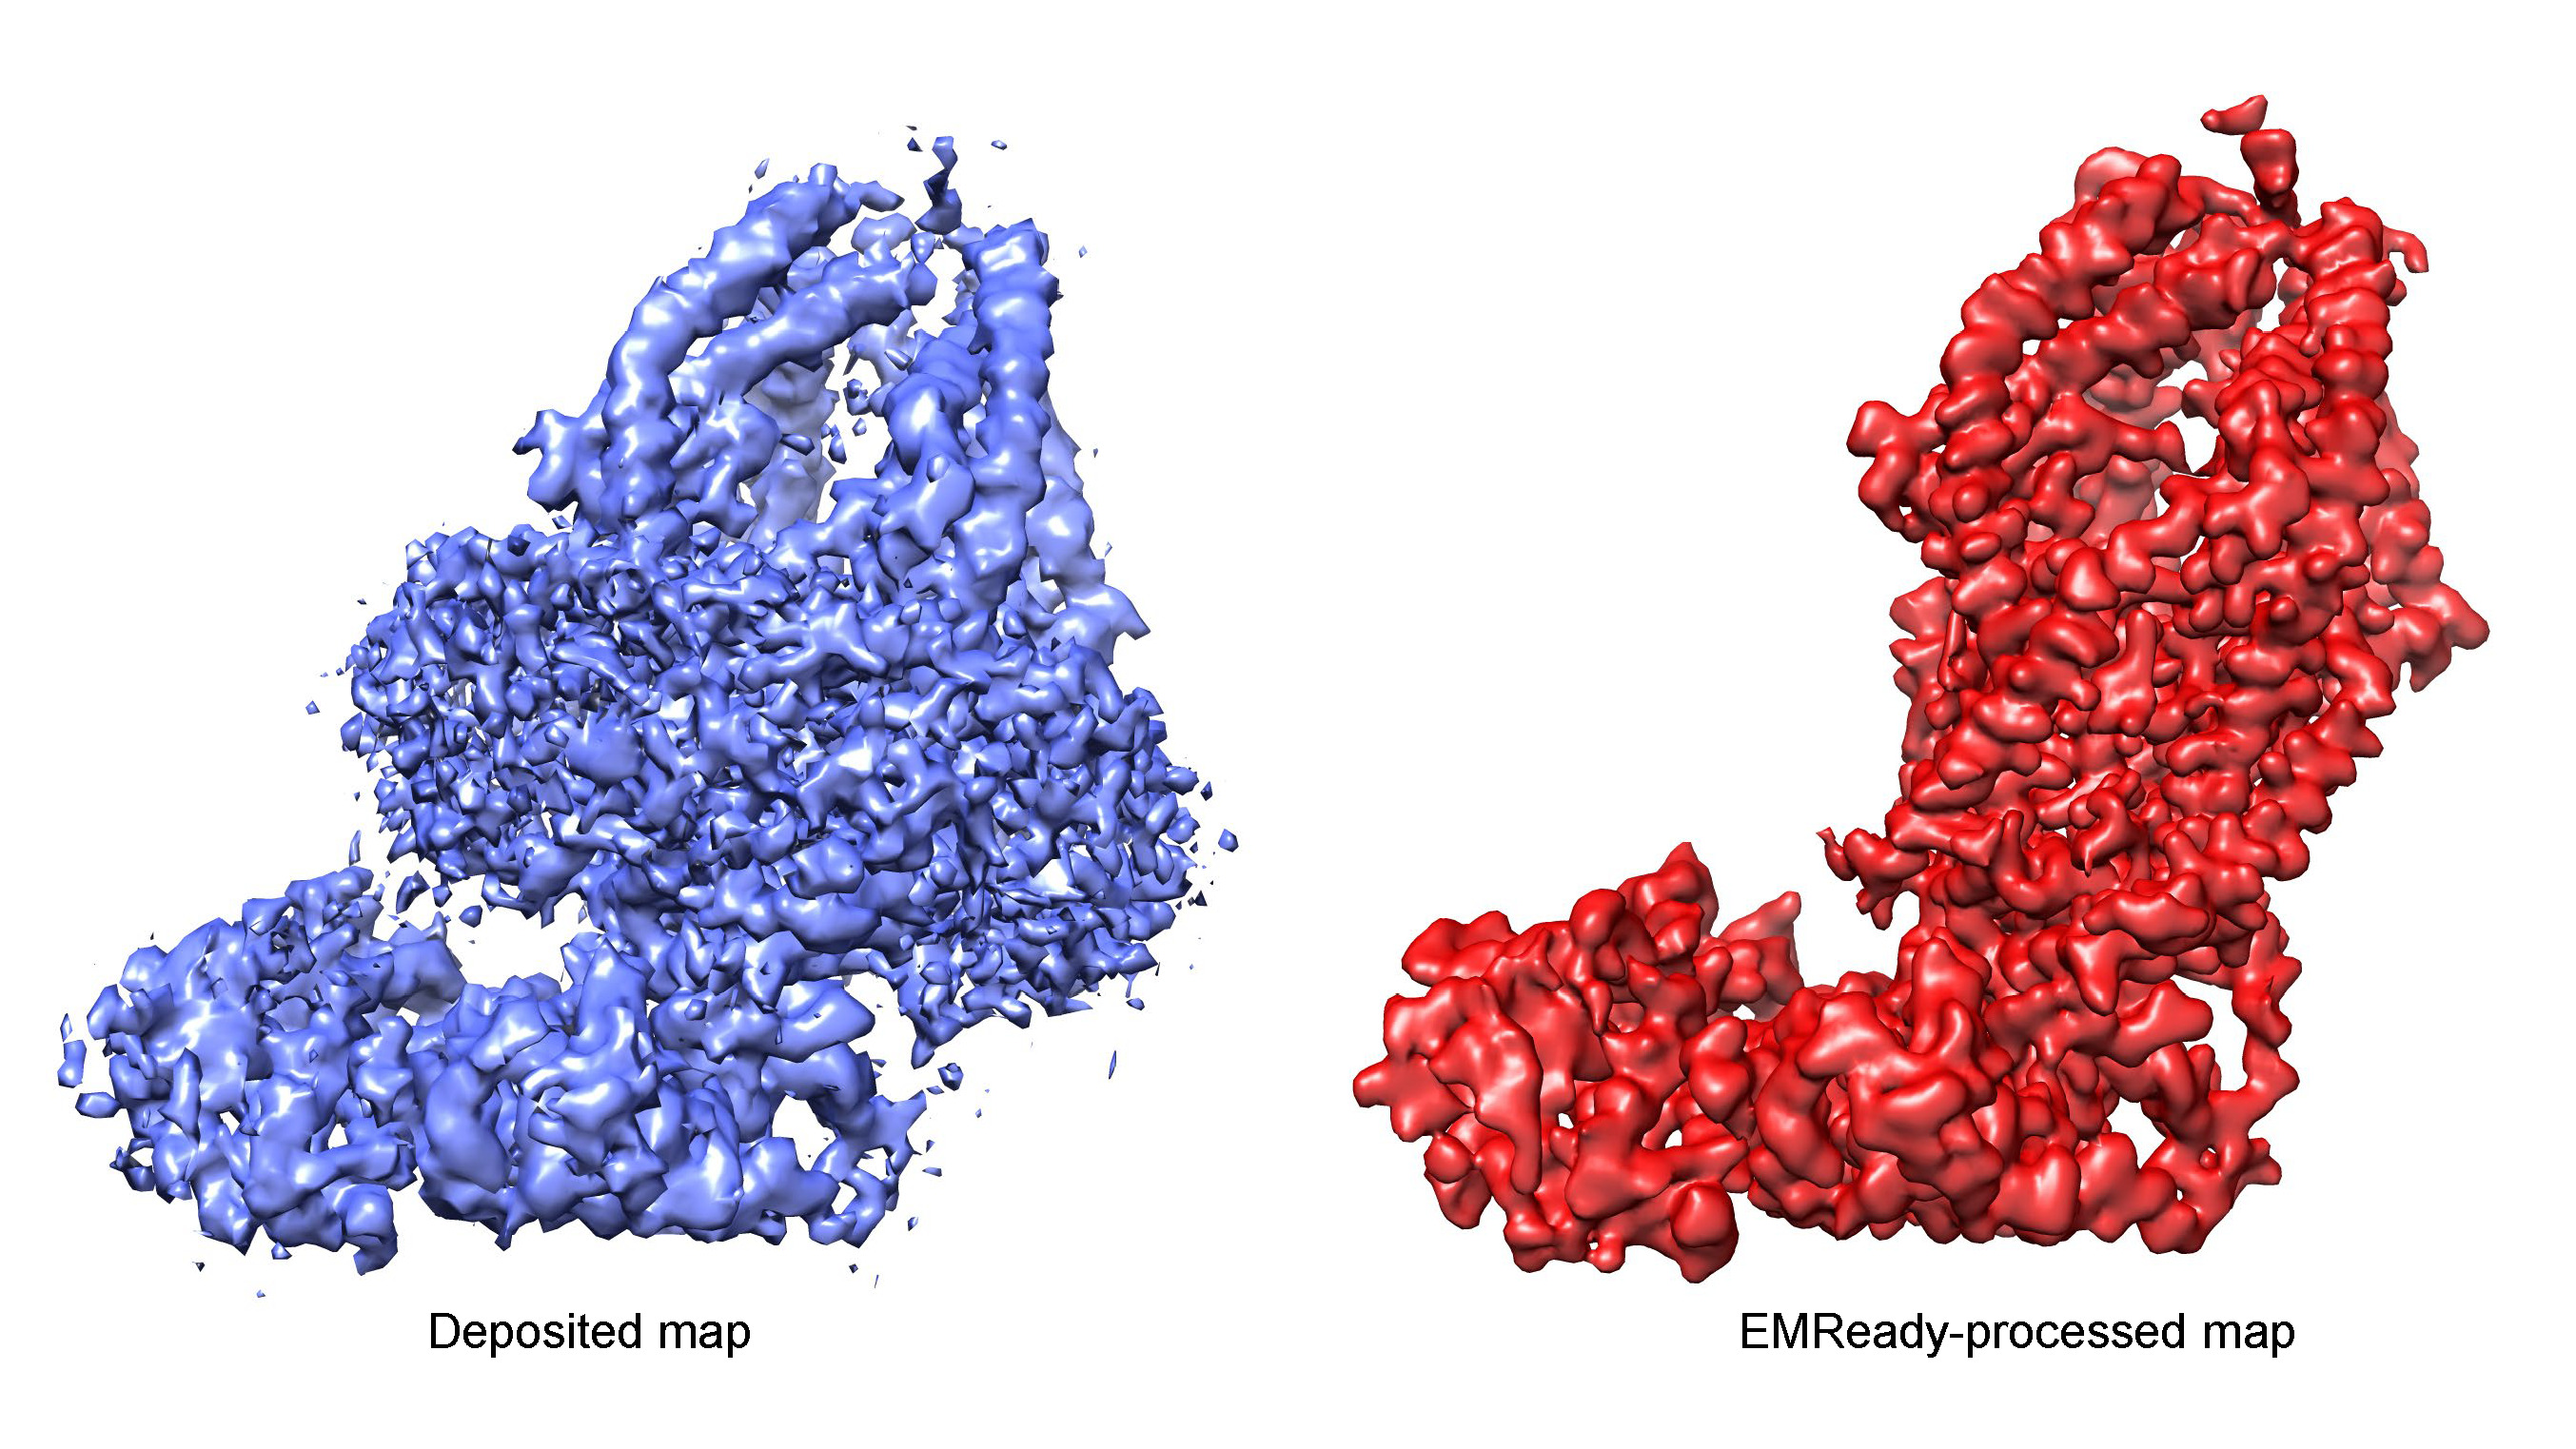
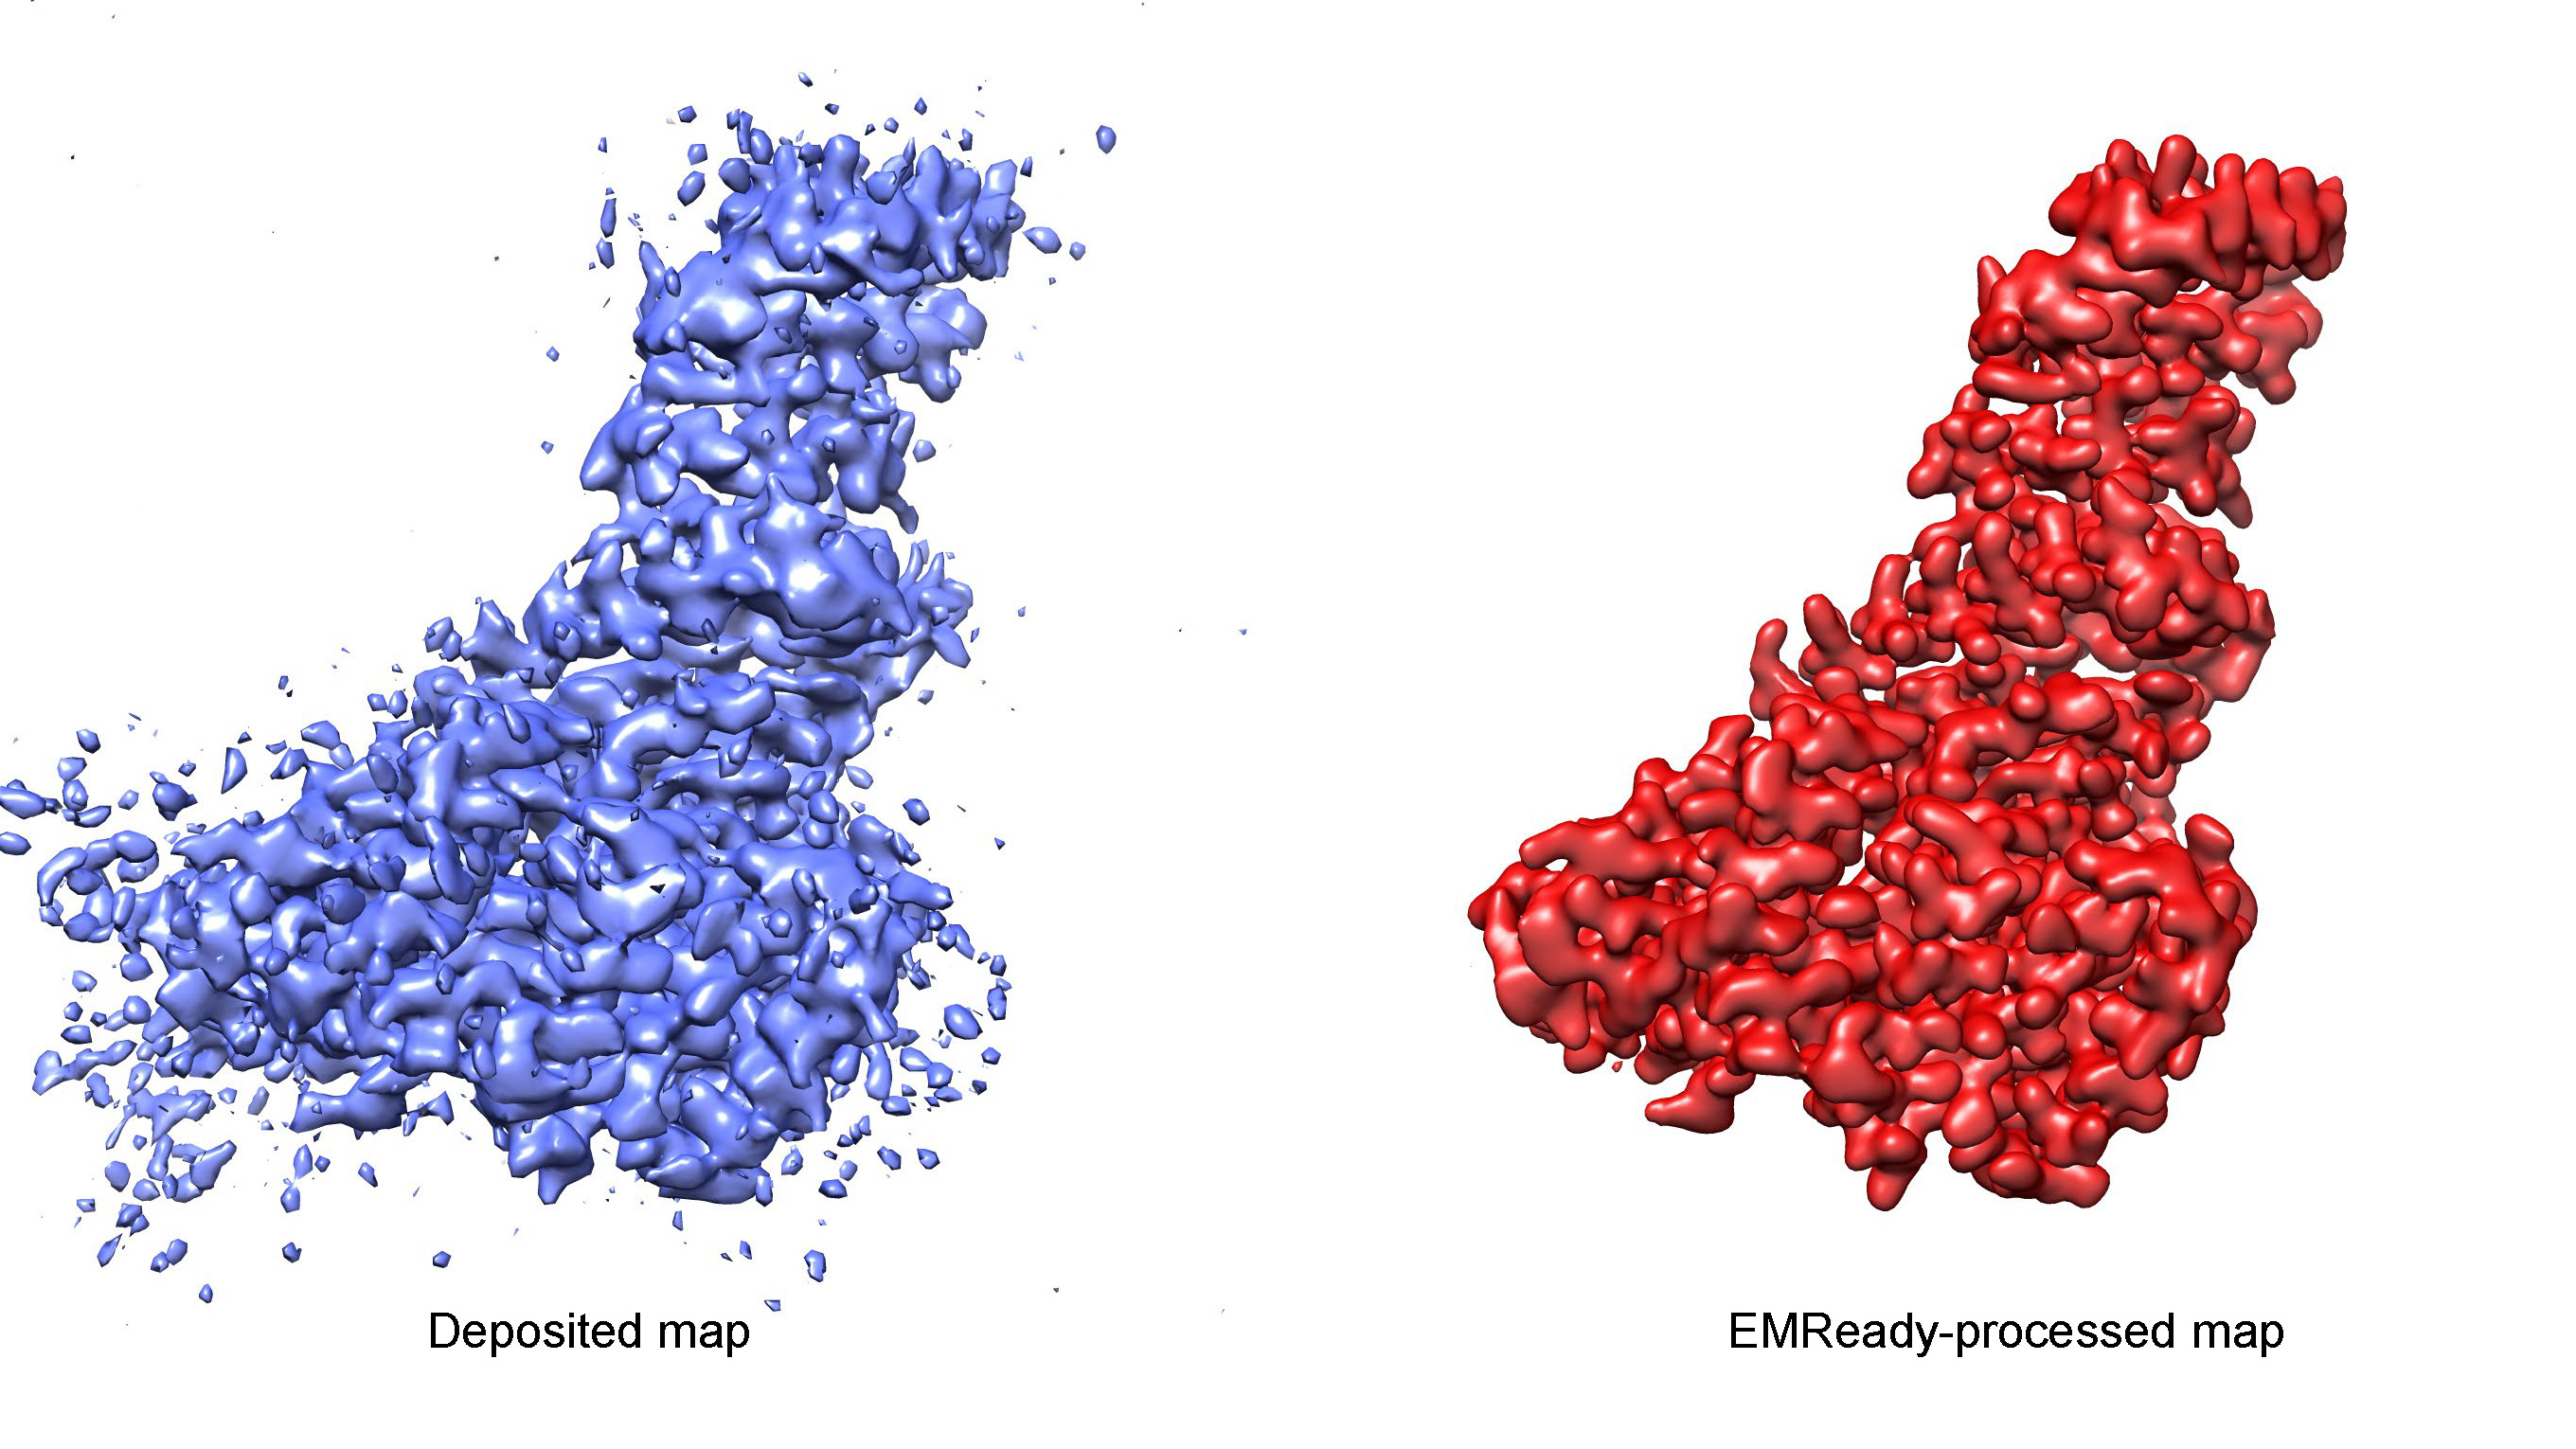
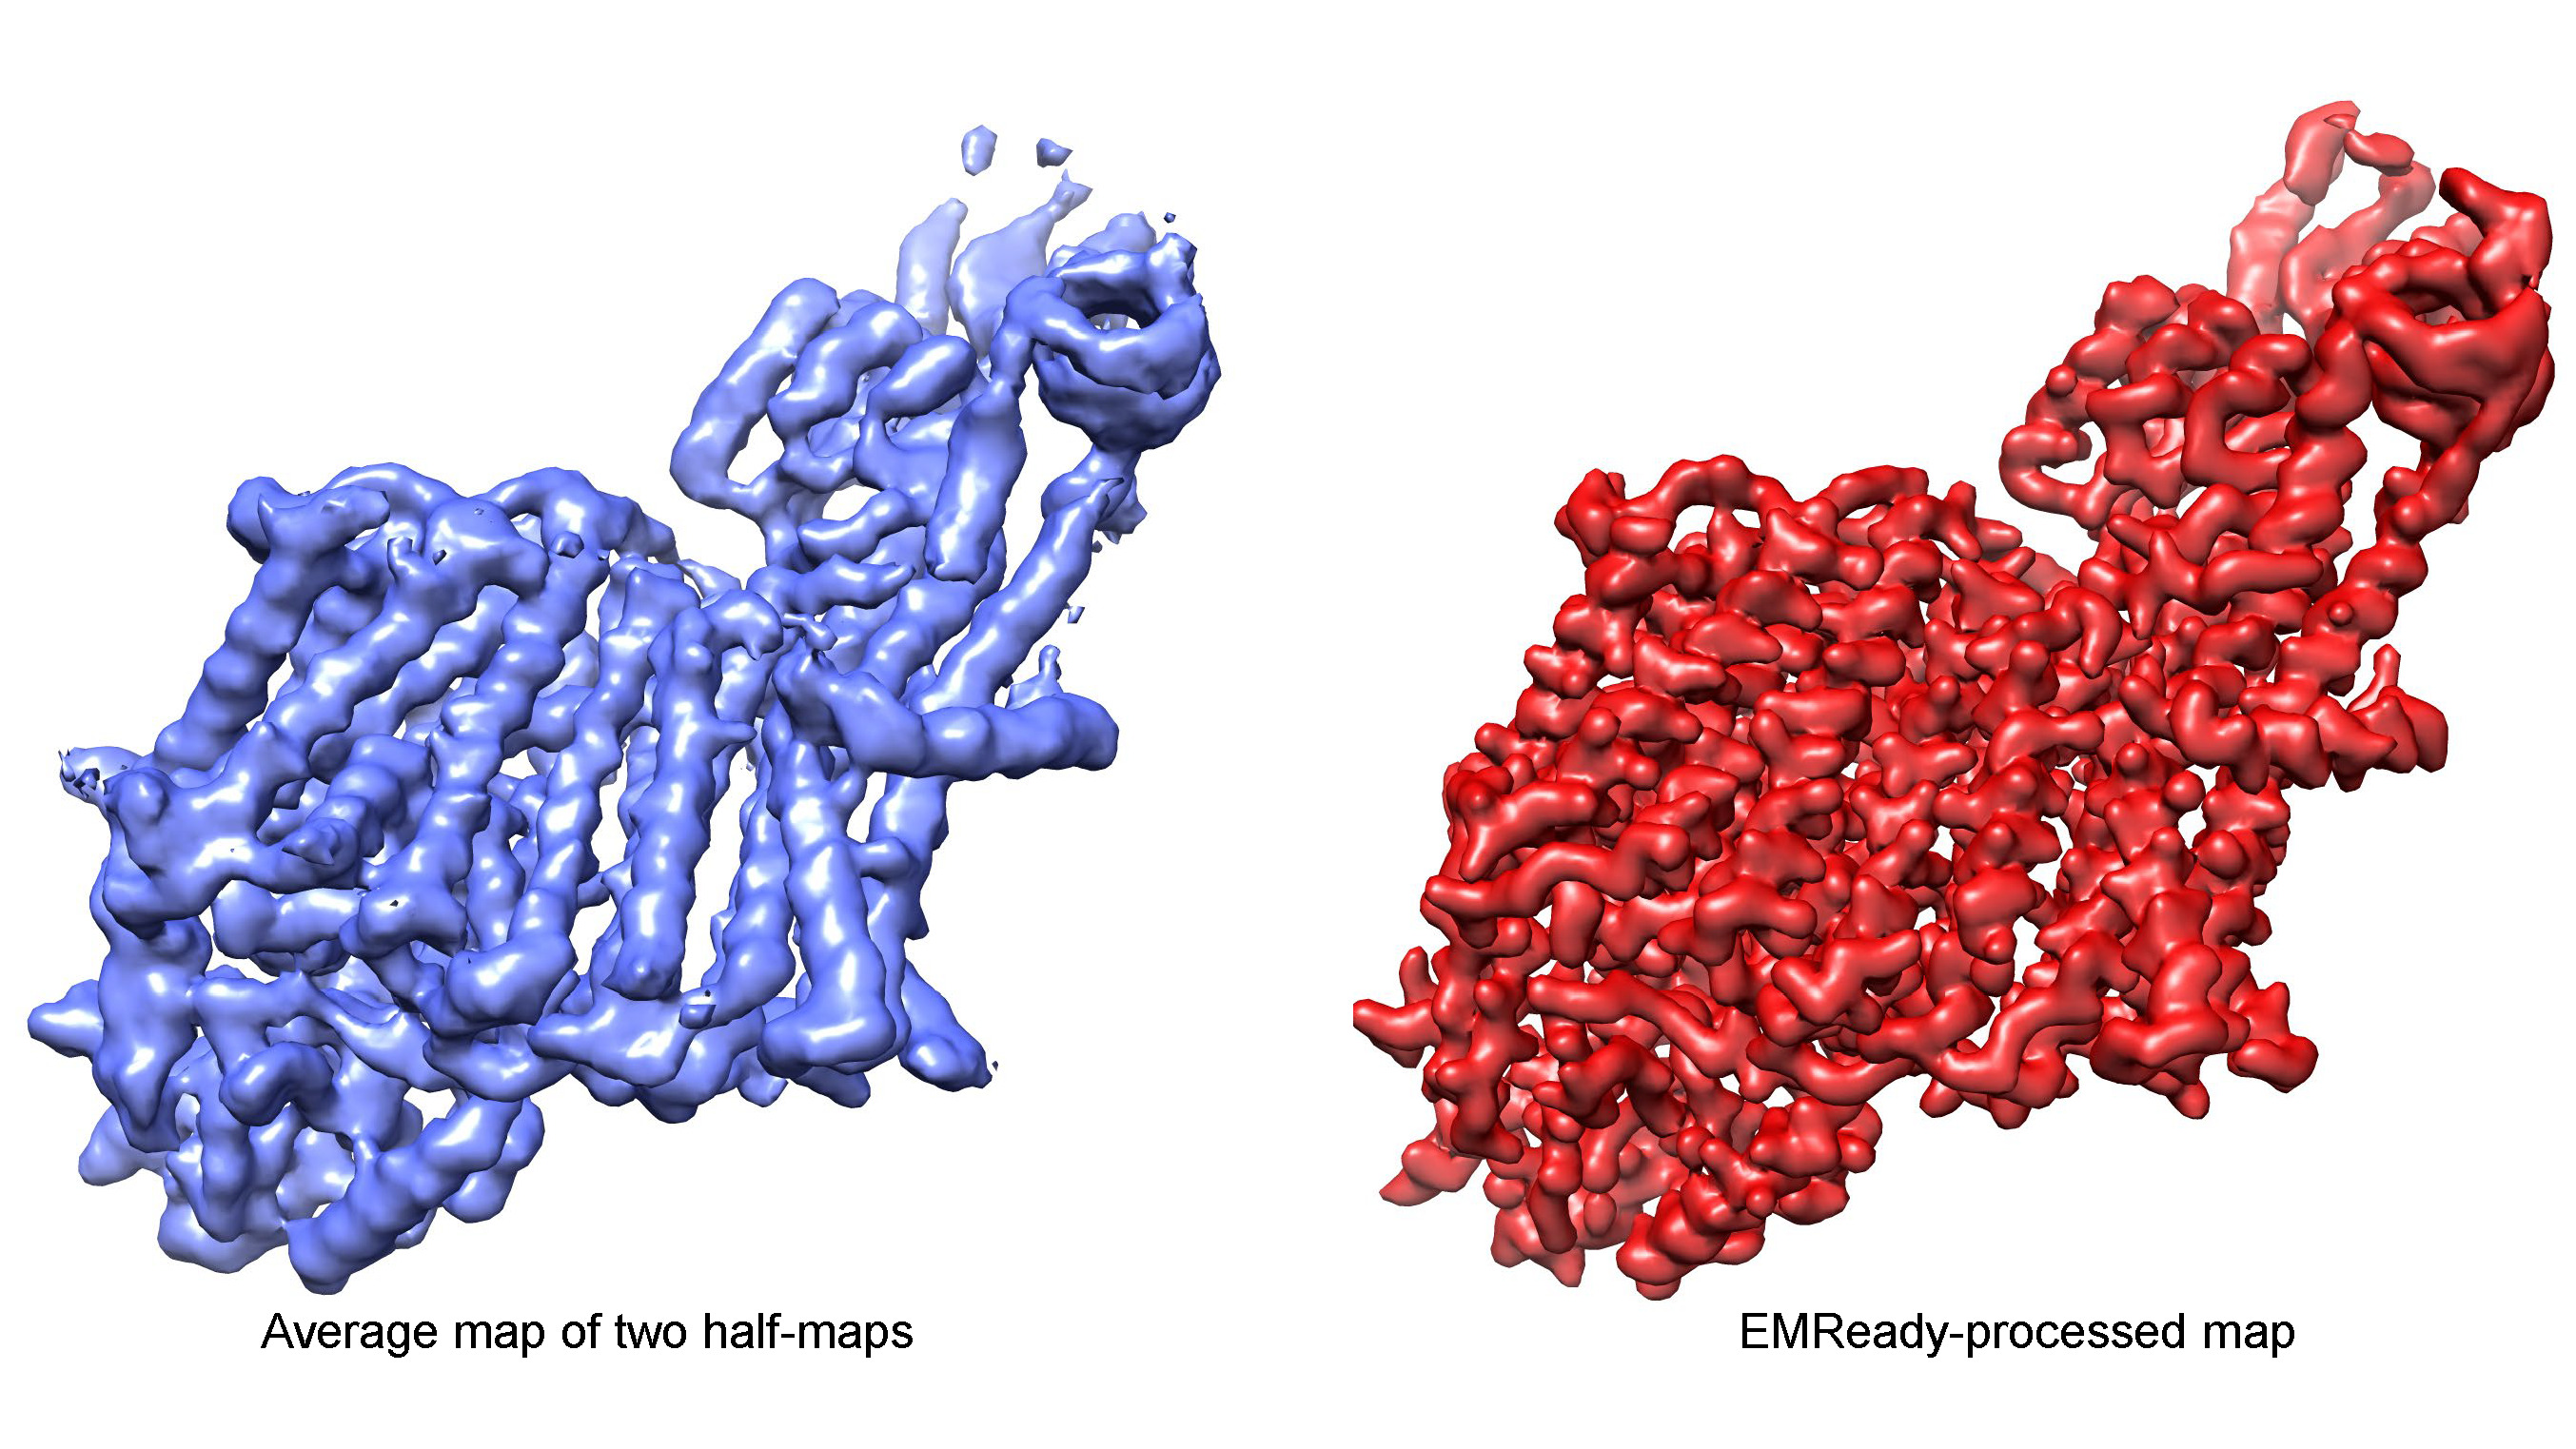
Improving the quality and interpretability of cryo-EM maps by local and non-local deep learning

Copyright © 2022 Jiahua He, Tao Li, Sheng-You Huang and Huazhong University of Science and Technology Released under GNU General Public License Version 3
EMReady is freely available for academic or commercial users. If you have any questions regarding EMReady, please don't hesitate to contact us via huangsy@hust.edu.cn Reference:He J, Li T, Huang S-Y.* Improvement of cryo-EM maps by simultaneous local and non-local deep learning. Nature Communications, 2023;14:3217. [link] Click here to download the data supporting the findings of EMReady paper.
Download EMReady
EMReady v2.0 new, which supports both proteins and nucleic acids, is now formally released. Please send your valuable feedbacks to us at huangsy@hust.edu.cn.
Click here to download EMReady v1.1
Click here to download EMReady v1.0
Release notes:
1. The memory in version 1.1 is optimized. Compared with version v1.0, the version 1.1 consumes much less memory while maintaining the same peformance.
2. The EMReady v2.0 is now supporting the map improvement for both proteins and nucleic acids.
a. The pixel size of the output map is set to be the same as that of the input map
b. A mask option has also been added to allow users to select or exclude some map regions.
c. The algorithm is more robust to weak density signals.
List of files EMReady.sh: the main program of EMReady pred.py: Python prediction program of EMReady frn.py: Pytorch implementation of Filter Response Normalization Layer used in EMReady interp3d.f90: Fortran source code for the interpolation of EM grid scunet.py: Pytorch implementation of 3D Swin-Conv-UNet used in EMReady utils.py: Python utilities used in EMReady model_state_dicts/: model_state_dicts/model_grid_size_1.0.pth: the trained EMReady model with 1.0 Angstrom grid size model_state_dicts/model_grid_size_0.5.pth: the trained EMReady model with 0.5 Angstrom grid size environment.yml: Required packages for Python virtual environment of EMReady
Install EMReady
Quick installation of required online packages
$ conda env create -f environment.ymlDetails of required online packages
Python (3.8.8) (https://www.python.org) Python package requirements: pytorch (1.8.1+cuda11.1) (https://pytorch.org) torchvision (0.9.1+cuda11.1) (https://pytorch.org) cudatoolkit (11.1) (https://developer.nvidia.com/cuda-toolkit) numpy (1.19.2) (https://www.numpy.org) einops (0.3.2) (https://einops.rocks/) mrcfile (1.3.0) (https://github.com/ccpem/mrcfile) timm(0.4.12) (https://github.com/rwightman/pytorch-image-models) tqdm (4.60.0) (https://github.com/tqdm/tqdm)NOTE: In order to run Python scripts properly, users should properly set the variables in EMReady.sh:
1. Set "EMReady_home" to the root directory of EMReady, for example, if EMReady is unzipped to "/home/jhe/data/EMReady", setEMReady_home="/home/jhe/data/EMReady"
2. Set "activate" to path of conda activator, for example
activate="/home/jhe/data/anaconda3/bin/activate"EMReady_env="emready_env". If the environment is built with a different name, users should modify "EMReady_env" accordingly
In addition to online packages, the interpolation program "interp3d.f90" should be built as a python package 'interp3d' using f2py in the conda virtual environment of EMReady
$    conda activate emready_env
$ f2py -c ./interp3d.f90 -m interp3d$ sudo apt-get install gfortran
How to Run EMReady
$ ./EMReady.sh in_map.mrc out_map.mrc [Options] Notes:
1. Users can specify a larger STRIDE of sliding window (default=12) to reduce the number of overlapping boxes to calculate. If users run out of memory, they may set it to a larger value. Howerver, since the size of the overlapping boxes is 48×48×48, the value of STRIDE should not exceed 48. 2. By default, EMReady will run on GPU(s). Users can adjust the BATCH_SIZE according to the VRAM of their GPU. Empirically, an NVIDIA A100 with 40 GB VRAM can afford a BATCH_SIZE of 30. Users can run EMReady on CPUs by setting --use_cpu. But this may take very long time for large density maps.Examples
or download one of the examples listed in the following to test EMReady.


